This week has been about making my jigs on the laser cutter, and also has been a massive set back. I began by using 6mm MDF which I laser cut my jigs onto, and then layered them up in two halves and glued together:
 |
| Part of jig glued together |
Once they were glued together I used the disk and bobbin sander to smooth them down:
 |
| Sanding on the bobbin sander |
|
|
|
|
|
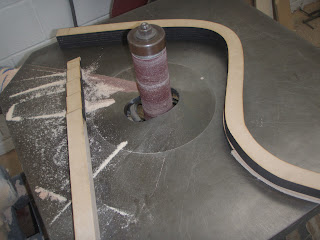
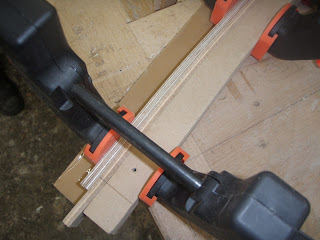
However after I did this it meant that it had some flat spots which I couldn't remove, which I decided to solve by using some of my spare bendy ply and gluing it to the jig. This was really effective and removed all the flat spots.
 |
| Bendy Ply gluing to jig |
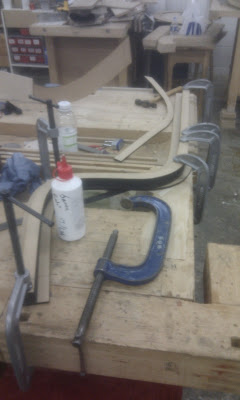
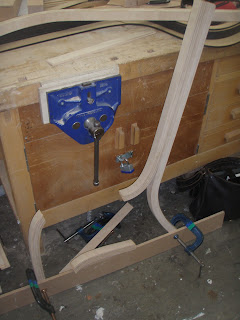
I then was ready to start gluing my framework together, so I glued 6 strips together using PVA glue for both the leg and frame, and clamped them to the jig.
 |
| Frame strips gluing together |
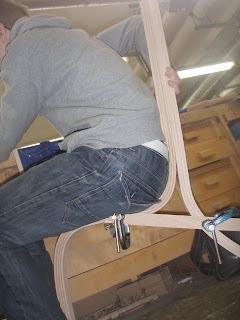
However once the frame and leg were glued together it was clear that they were not going to be strong enough, and would snap under very little weight, so I decided to try some glue that another student was using, called Titebond:
 |
| Stronger Glue |
I was hopeful that this would solve the structural issues that I faced, as it was a much stronger glue. Initially I believed it had solved the problem, but after some testing it failed, with a clean snap through the grain, meaning that it wasn't the glue hat wasn't strong enough but the material itself.
 |
| Initial test with strengthening piece |
 |
| Failed testing |
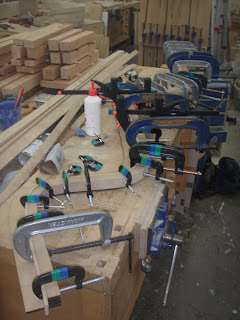
This then meant I started to panic, as the only way I could see being able to solve this issue was to make it out of construction veneers, a slower and much more expensive way. However after much discussion I decided to see if 4mm normal plywood would bend o my jig without snapping. I was rather dubious at first, but soon I had fixed it around the jig with less problems then the bendy plywood.
 |
| Two strips of 4mm Plywood bent around jig |
This meant that all my dimensions have been changed and my design altered slightly to make the whole chair stronger. I first remodeled the chair in 3D, as shown below, which includes a new "U" shaped piece:
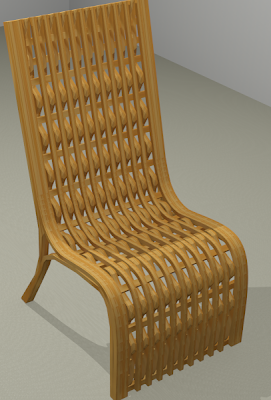 |
| Chair Remodeled |
This means that next week I will be making the legs and the slats, as the 4mm plywood board that I require has to be ordered due to the grain direction on the boards. This means I have been set back quite a lot, but I will just have to do other things such as making the jig for the new piece which has been added to the bottom of the chair.


No comments:
Post a Comment
If you would like to leave any feedback about this post or blog, please fill out this section.